Dehydrating fruit for backpacking is an easy yet effective way to add nutrition to your meals on the trail. It’s lightweight, calorie-dense, and nutrient-rich.
Plus, it provides a much-needed boost of energy to fuel your adventures. Here are some tips on how to dehydrate fruit for backpacking.
1. Pick the Right Fruit
When selecting your fruit, choose ones that are ripe and sweet.
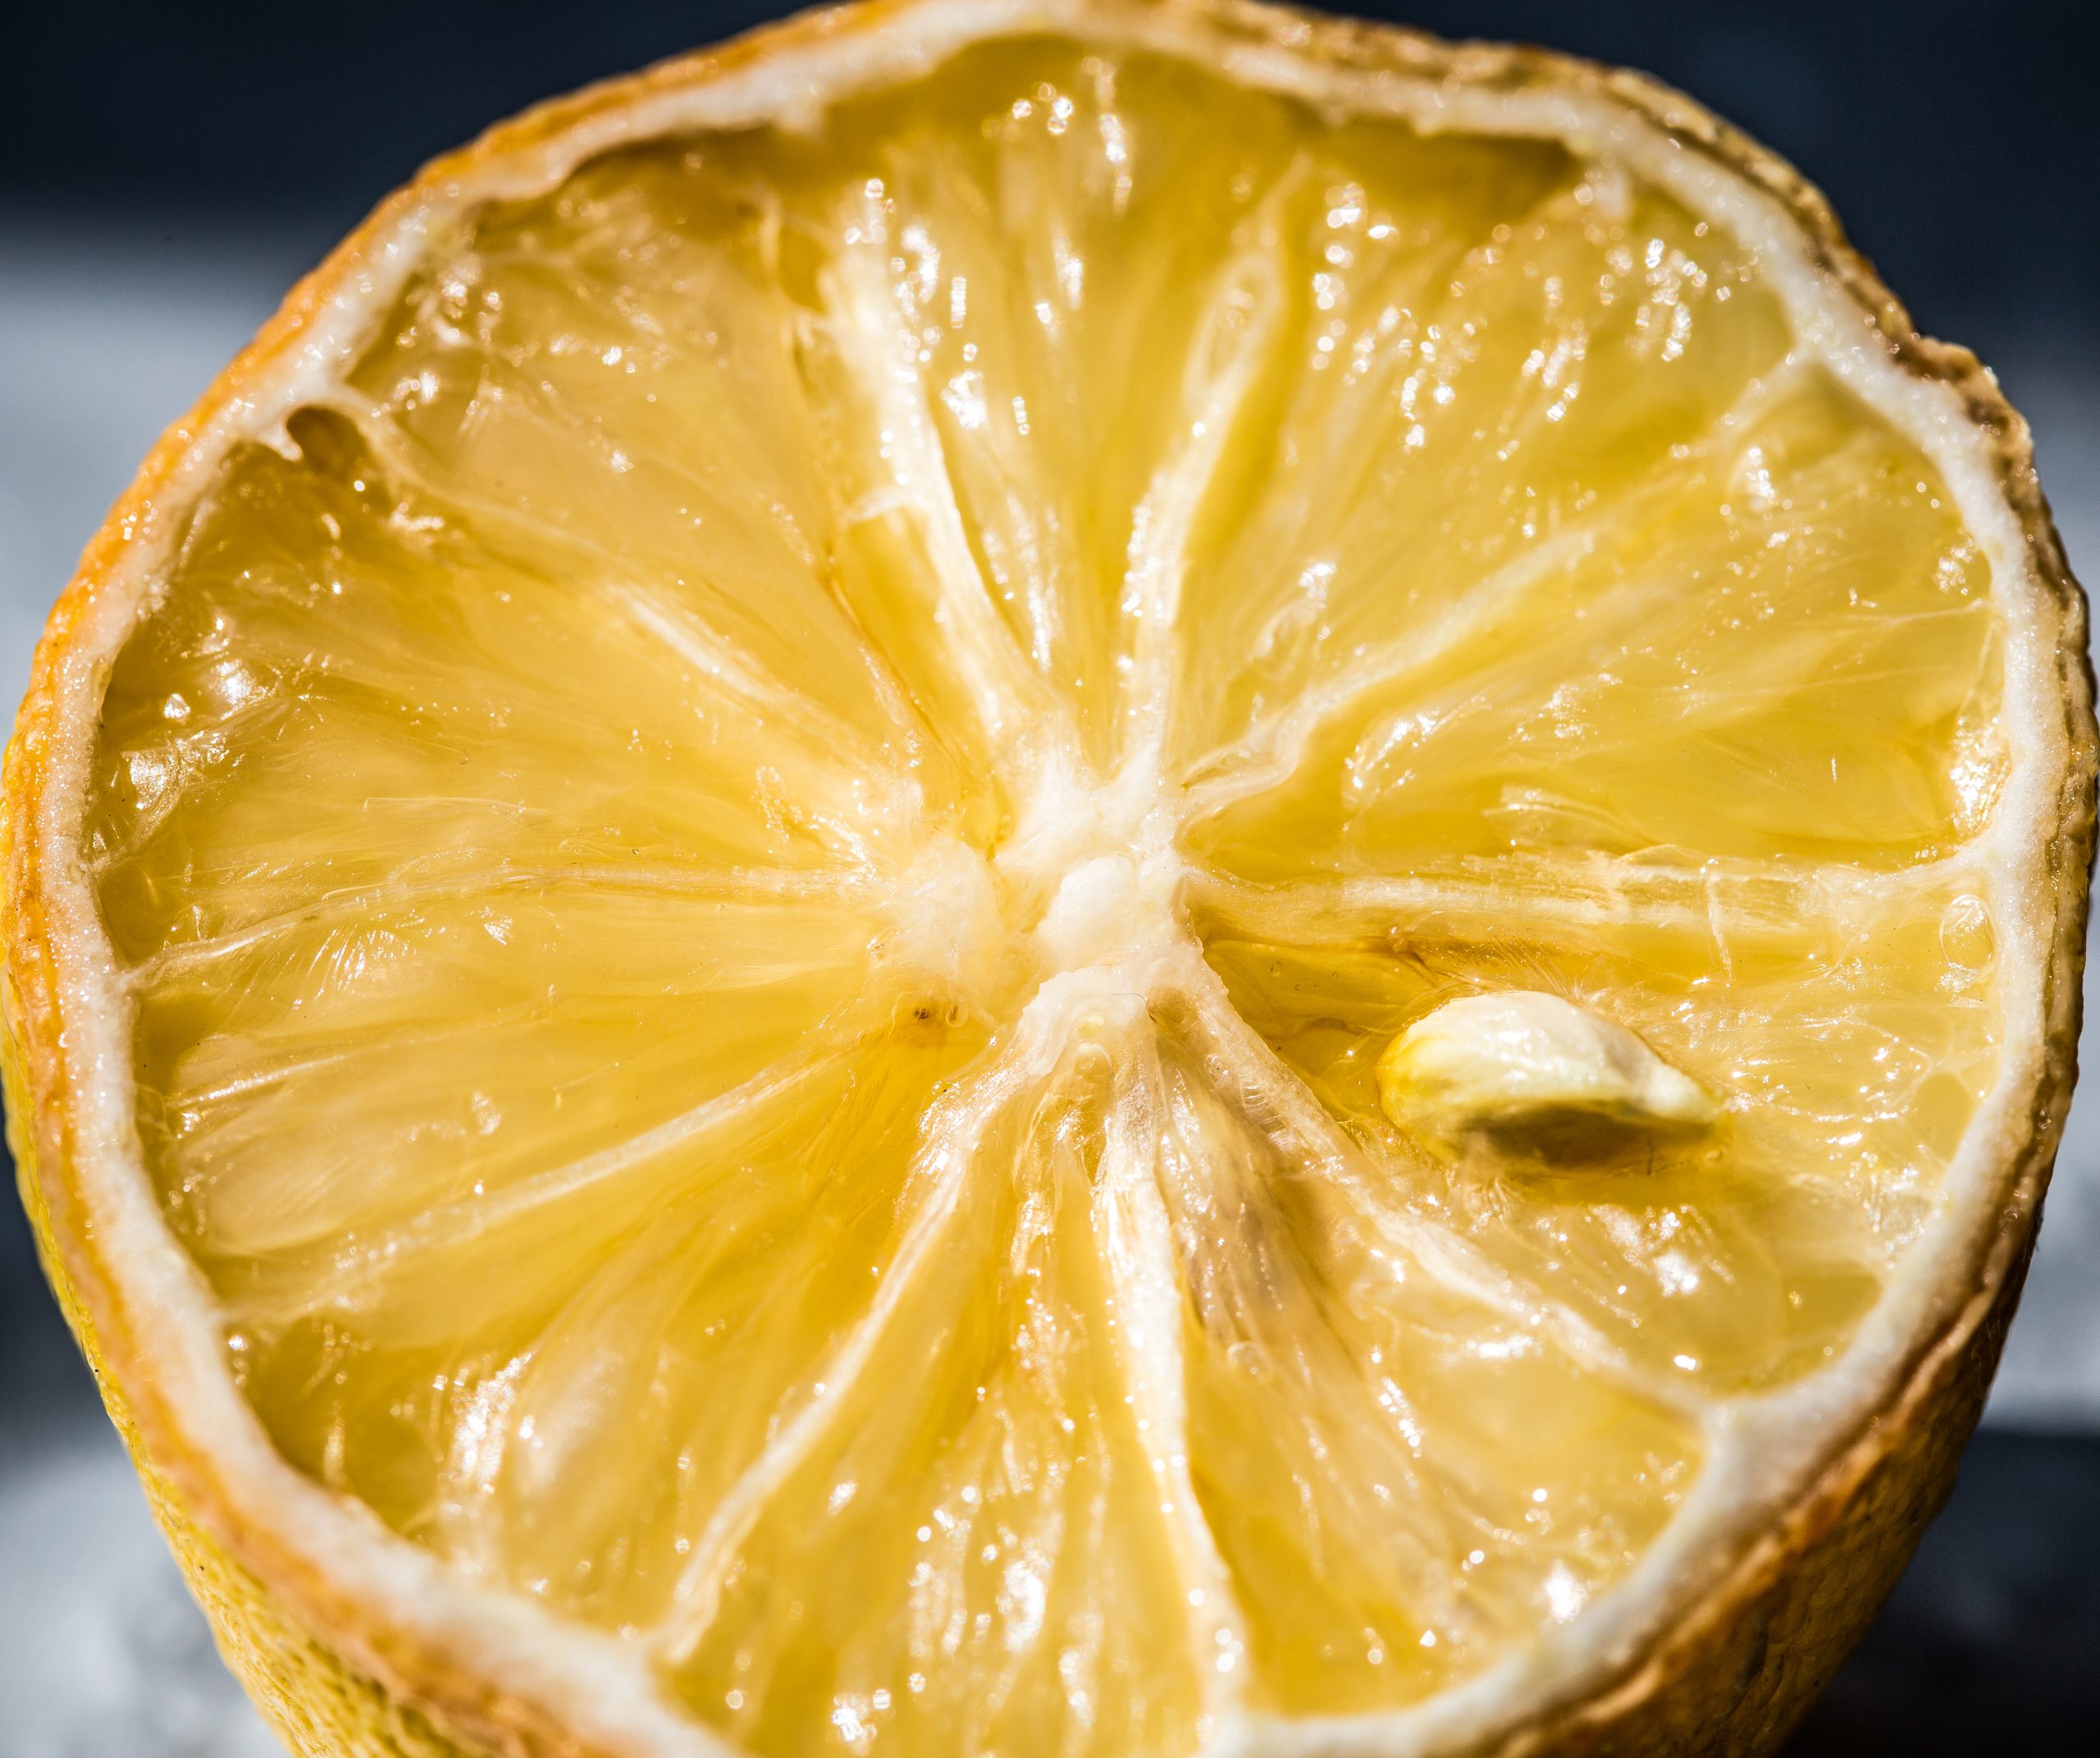
Citrus fruits like oranges and lemons will not dehydrate well, so avoid these. Instead, opt for apples, pears, bananas, strawberries, blueberries, peaches – basically any fruit that you’d normally eat fresh.
2. Prep Your Fruit
Wash the fruit thoroughly before dehydrating and cut them into slices or chunks of roughly the same size. This will ensure that they dry evenly and prevent them from sticking together when packed.
3. Dehydrate
You can use a food dehydrator or an oven set to the lowest temperature possible (no higher than 140°F).
Spread out the sliced or chopped fruit on a baking sheet lined with parchment paper and place in the oven or dehydrator for 5-6 hours. Make sure to check on it periodically and stir around if necessary.
4. Pack & Enjoy!
Once dried completely (it should be slightly Chewy not crunchy), let cool completely before packing in airtight containers such as Ziploc bags or mason jars. This will help keep them from getting soggy or moldy during transport.
Dehydrated fruit is a great option for adding some extra nutrition (and flavor!) to your backpacking meals. With just a bit of prep work beforehand, you can have nutritious snacks ready for your next adventure!
Conclusion
Dehydrating fruit is an easy way to add nutritious snacks to your backpacking trips without adding too much weight or bulk to your pack. Just pick the right type of fruit, prep it properly, then dry it in an oven or dehydrator before packing away in airtight containers – and voila! You’ll have tasty and healthy snacks ready for your next outdoor adventure.

