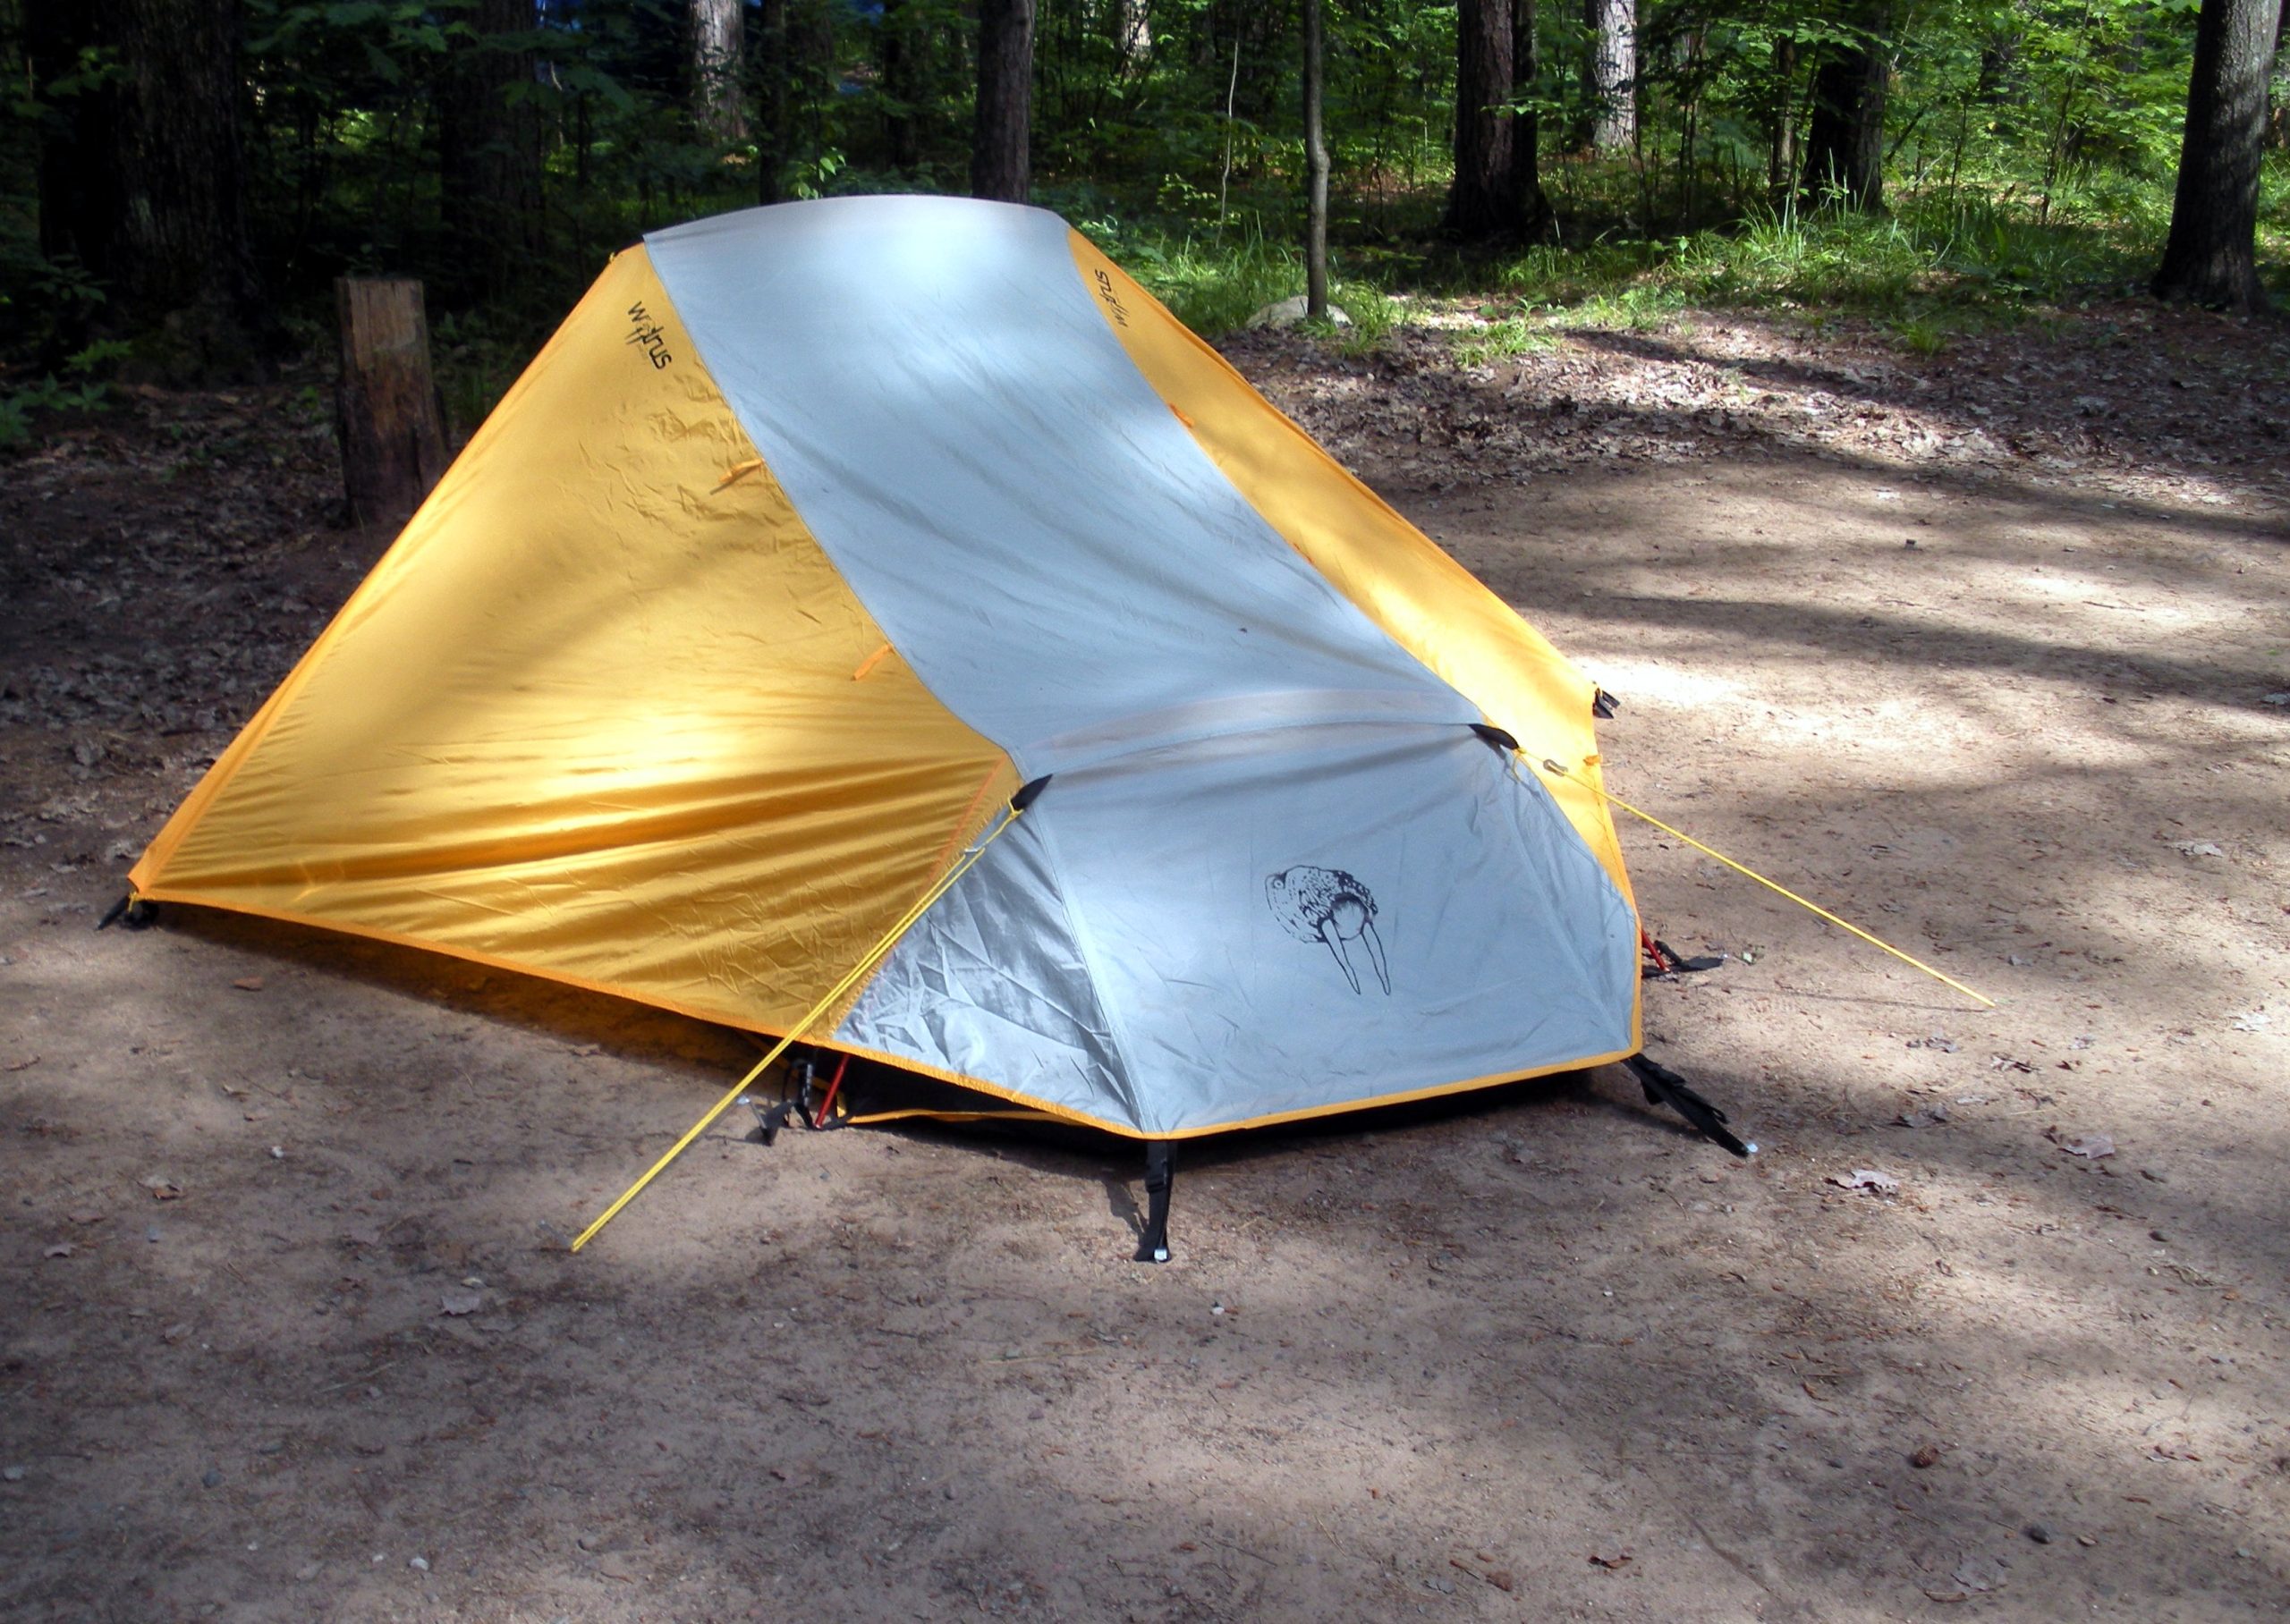
When you’re planning to go backpacking, having the right gear is essential. One of the most important pieces of equipment is a tent.
Setting up a backpacking tent may seem intimidating at first, but it’s actually quite simple. Here’s a step-by-step guide on how to set up a backpacking tent.
Step 1: Select Your Tent Site
The first step in setting up your backpacking tent is selecting an appropriate site. Ideally, you should look for flat ground that does not have any sharp rocks or debris that may puncture your tent floor. You should also try to avoid areas with low-lying vegetation as it can become wet and uncomfortable if it rains.
Step 2: Clear the Area
Before you begin setting up your tent, you should take some time to clear the area of any debris or sharp objects that may puncture your tent floor. It’s also important to make sure that there are no low-hanging branches or other things that could get in the way when you’re setting up your tent.
Step 3: Assemble Your Poles and Stakes
Once the area is cleared, you can begin assembling your poles and stakes. Most tents come with two main poles and several small stakes that will be used to secure the tent to the ground. Make sure all of the poles are connected securely before proceeding.
Step 4: Lay Out Your Tent
Once your poles and stakes are assembled, lay out the body of your tent on top of the cleared area. Make sure it is completely flat and free of any wrinkles or folds before staking it down.
Step 5: Secure Your Tent To The Ground
Once your tent is laid out properly, use the stakes provided with your tent to secure it to the ground. Place one stake at each corner and in between where necessary until all four sides are securely staked into place.
Conclusion:
Backpacking tents are an essential piece of gear for any outdoor adventure. Setting up a backpacking tent may seem intimidating at first, but following these five simple steps will ensure that you have a safe and comfortable shelter for your next journey into nature!

