Backpacking, especially for extended trips, can be hard on your feet. Continuous walking in the same pair of shoes, carrying heavy items and travelling over rough terrain all contribute to the formation of blisters.
Blisters are caused by friction and heat generated by movement between the skin and a rubbing surface like a shoe or sock. They are filled with fluid, which can range from clear to yellow or even red if an infection is present.
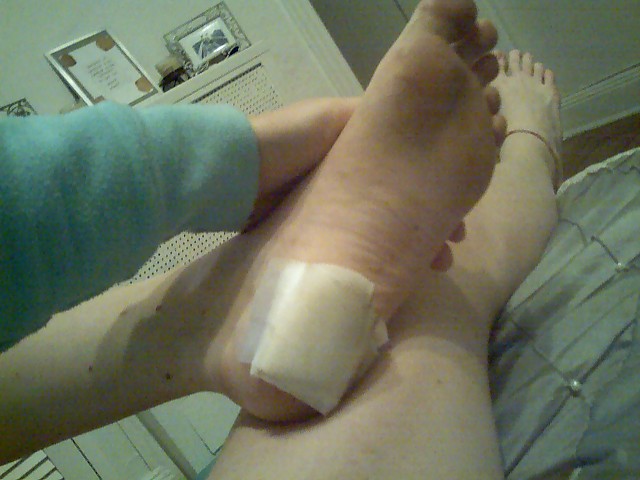
Treating Blisters: First Aid
When a blister forms, it is important to take immediate action to prevent further irritation and potential infection. The first step is to clean the area with mild soap and water and wrap it loosely in a sterile bandage or gauze pad.
This will protect the skin from further rubbing while also preventing dirt and bacteria from entering the wound.
Cushioning
If possible, try to cushion the area with padding such as moleskin or adhesive foam pads when you’re backpacking. This will help reduce friction between your skin and your shoes or socks. If you don’t have access to cushioning materials, try wearing two pairs of socks instead of one—this may help create a buffer between your skin and your footwear.
Drainage
If the blister is large and filled with fluid, you may need to carefully puncture it with a sterilized needle or safety pin in order to drain it. Make sure you thoroughly clean the area before doing this—once drained, cover it with a loose bandage or gauze pad.
Conclusion:
Treating blisters after backpacking requires quick action in order to reduce pain and prevent infection. First aid should be taken immediately after they form by cleaning them with mild soap and water and wrapping them loosely in a sterile bandage or gauze pad.
Cushioning materials such as moleskin or adhesive foam pads should also be used if available; otherwise two pairs of socks may help create a buffer between your skin and footwear. If necessary, large blisters can also be drained using a sterilized needle or safety pin; however make sure you thoroughly clean the area before doing this.